How to Waterproof Windows

How to Waterproof Windows: Flashing Strategies That Actually Work
Waterproofing your windows isn’t just about keeping rain out—it’s about protecting your home from long-term water damage, mold growth, and energy loss. When done correctly, proper flashing around windows creates a watertight seal that keeps your home dry and your siding looking great for years.
At American Way Exteriors, we’ve seen firsthand how small flashing mistakes can lead to big headaches later on. Here’s what actually works when it comes to window waterproofing and how to make sure your home stays protected.
1. Start with a Solid Base: The Weather-Resistant Barrier (WRB)
Every waterproofing strategy begins with a properly installed WRB, such as house wrap or building paper. This acts as your home’s first line of defense against moisture.
When installing windows, the WRB should always lap over the flashing at the top and under it at the bottom to allow water to shed naturally down and away. Think of it like shingles—you never want water trapped behind the barrier.
2. Use Flexible Flashing Tape the Right Way
Flashing tape seals the gap between the window flange and the wall. But the installation sequence is what makes it truly effective:
- Sill flashing first: Apply a flexible sill pan or flashing tape at the bottom, extending it up each side about 6 inches. This creates a “bathtub” effect that prevents water from pooling.
- Jambs next: Run vertical flashing on each side, overlapping the sill flashing.
- Head flashing last: The top piece should overlap the side jambs and tuck behind the WRB—never over it.
This layering method ensures any water that gets in can safely drain out instead of getting trapped.
3. Don’t Skip the Drip Cap
A drip cap (also known as head flashing) is a simple but crucial piece of metal flashing that sits above the window. It redirects water away from the top of the frame and siding. Many older homes lack this small detail, which can lead to water stains and leaks around the top trim.
If you’re replacing windows or siding, make sure your installer includes a properly angled drip cap with end dams to prevent water from sneaking behind the trim.
4. Seal Smart—Not Everywhere
It’s tempting to caulk every visible gap around a window, but sealing the wrong areas can actually trap water. You should:
✅ Seal the top and sides of the exterior window trim
❌ Avoid sealing the bottom edge, so any trapped moisture can drain out
Proper sealing keeps air and water out without preventing drainage where it’s needed most.
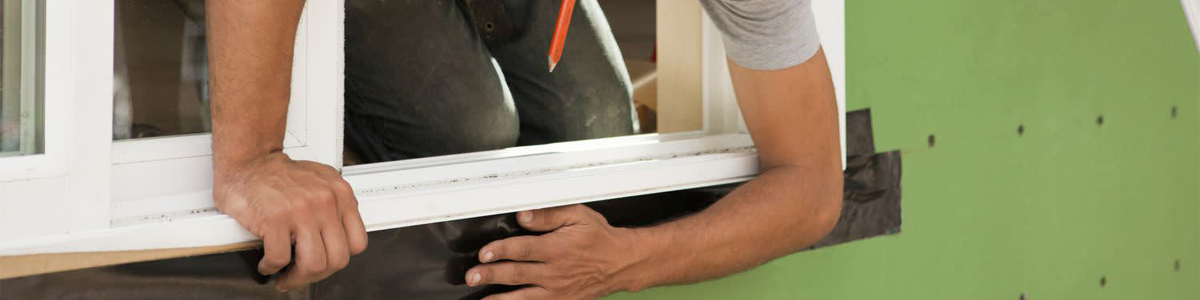
5. Combine Flashing and Siding Installation
When siding and windows are installed at the same time, it’s easier to integrate all flashing layers properly. That’s why we often recommend doing these upgrades together—it ensures the entire wall system works as one to keep your home dry and energy efficient.
Final Thoughts
When it comes to window waterproofing, shortcuts don’t pay off. The right flashing strategies—installed in the right order—are what keep your home watertight for decades.
If you’re noticing water stains, drafts, or soft spots around your windows, it might be time to inspect your flashing and siding system.
Contact American Way Exteriors for a professional inspection or full siding and window replacement. We’ll make sure your home is sealed tight and ready for any Ohio weather.
Read Our Rave Reviews
American Way Exteriors has earned numerous positive reviews for our outstanding service. Read about our customers’ pleasant experiences working with us, then contact us today to learn how we can improve your home with new siding and roofing.
Our Trusted Partners